Get the most from your garden this summer with a simple decked area that a competent DIY-er can install quickly and easily over a weekend, with our easy to follow instructions.
Planning a decked area
Regardless of the simplicity of your proposed deck, it’s still important to plan it out. This helps when calculating the materials you will need and it will ensure you have the correct tools before you start. Things to consider include what shape you want your finished decking to be and how big it will be. Next think about where it will go – do you want it close to the house or would you prefer it to be in a shaded area? and whether the ground is level and ready to be built upon.
Tools required to build a deck
Basic tools required to build a deck will usually be part of a DIY enthusiast’s basic toolkit, with the addition of a couple of power tools. For a basic deck you will need:
- a tape measure
- string
- spade
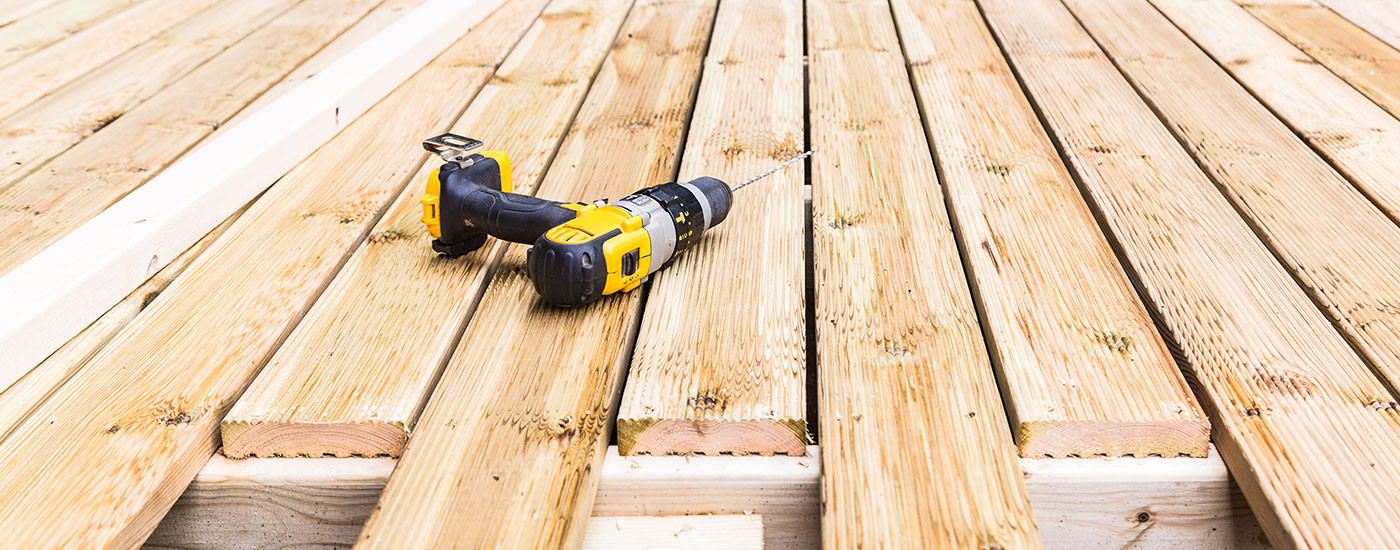
- drill
- screws
- spirit level
- mitre saw
- hammer
- screwdriver
- safety gloves
Calculating materials for a deck
Diagonal or chevron designs will use more decking boards but for a simple, horizontal design, see our Decking Material Calculator for how to calculate materials for a 5m x 2m area.
Preparing the ground for your decking
Ground-level decking can be installed on an existing patio base or directly on a grassed area. If constructing the deck on grass, the area of the deck needs to be marked out with string, before being dug out to a depth of approximately 5cm. Tamper down the surface and lay a weed control membrane down – this will stop rogue blades of grass from poking through the deck. Cover the membrane with a layer of gravel (4-5cm deep).
How to install decking
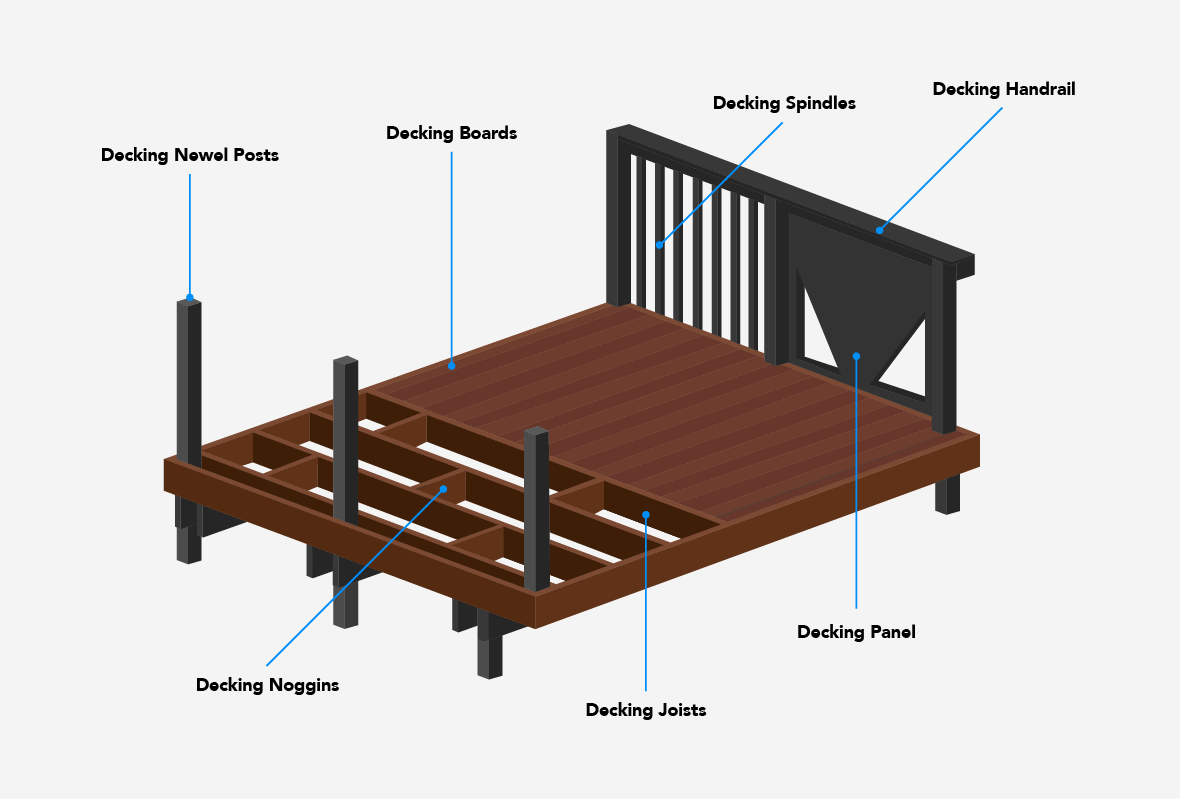
Subframe/frame assembly – the subframe is constructed from timber decking joists and is the foundation on which the decking boards are placed. Lay your joists around the perimeter of the area to be decked, securing the corners with specialised decking screws. Working along the interior of the frame, lay further decking joists at intervals of 40cm, nailing them in place as you go. Once the frame is finished, use a spirit level to ensure it is level, adjusting until it is. Reinforce the inner joists of the frame with offcuts known as noggins (see image below) at staggered interval for extra strength.
Laying timber decking boards - once your framework is in place and reinforced, the decking boards can be installed, leaving a 5mm gap between the boards and securing them with two screws in each joist. To finish off the decking, fix decking boards along the sides of the frame so that they are flush with the edge of the outer boards.
For the confident DIY-er, this is a straightforward project that, with a friend to help, can be achieved fairly easily. The more experienced carpenter may wish to add decking newel posts, with a deck handrail and deck spindles.
Where you have any questions, the decking category of our blog has lots of useful articles full of tips and hints. And if you need help with decking supplies, our experienced staff is here to help. Simply call us on 01205 359188 or email us at sales@withamtimber.co.uk and we will be happy to help.