Whose fence is it?
Just as you should check boundary lines when installing a new fence, so you should check whose fence it is before taking one down. An informal chat between neighbours should be enough but if you don’t have a friendly relationship with the people next door, read Can I replace my neighbour’s fence? for more advice.
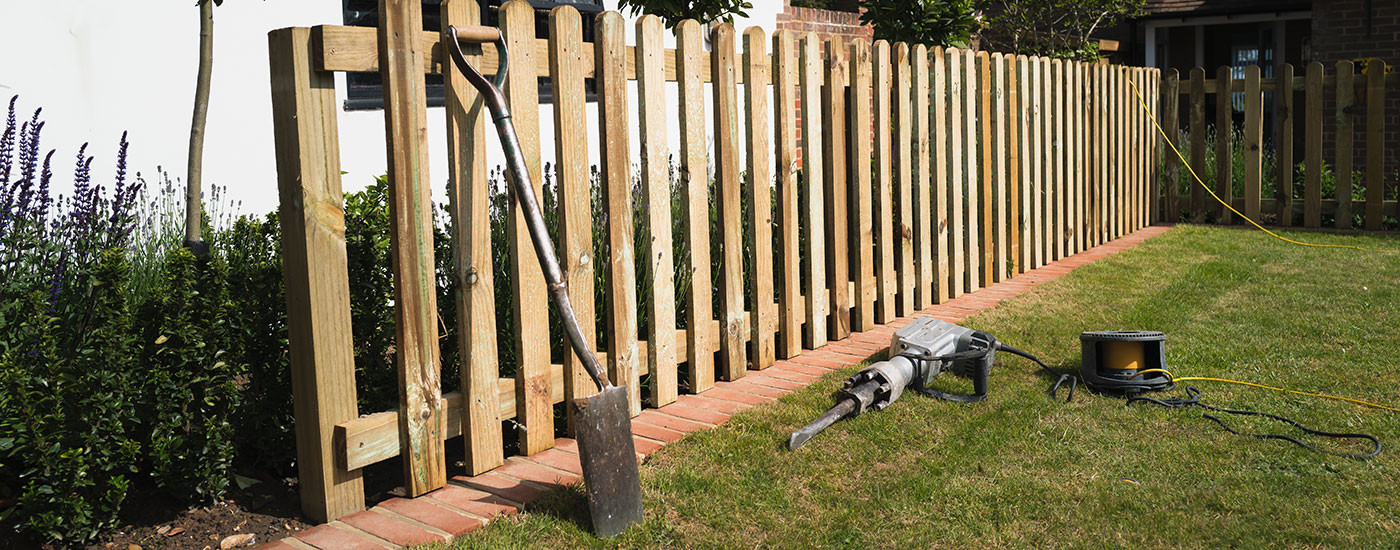
Acknowledging that it is time to replace your timber fence and that carrying out fence repairs would be counter-productive, it’s time to tackle the fence. In the first instance, a quick call to utility providers should be made to establish whether there are any underlying installations that could cause problems when you remove fence posts. Once you know there will be no issues as you remove fence posts, carrying out the following steps will make removing your fence as straightforward as possible.
Check the condition of the fence
Have a good look at your fence, along its entire length, checking for weak points and potential hazards. Look particularly for rotting timber, damage such as splintering wood and any bent metal that could inflict injury.
Safety precautions
Before starting, ensure you have a strong pair of gloves to wear plus safety goggles. Always work with someone who can help with heavy lifting. An extra pair of hands will make the task safer and quicker.
Clear the area
Clear the immediate area around the fence of all debris and cut back vegetation where necessary. The clearer the area, the easier it will be to take down the fence. You will also be able to spot any nails or screws that may get left behind.
Remove fence panels
The safest way to do this is by loosening each fence panel from the posts, by banging it towards the post with a hammer. This will expose the nails which can then be safely removed with the back of the hammer, or a crowbar. Always pick nails up and check thoroughly that none are left on the ground. There is a school of thought that recommends taking an electric saw to the panels but this would prevent you from recycling the timber panels and can create a lot of flying debris and mess.
Remove fence posts
Once your timber fence panels have been removed, you may find that your posts are in good enough condition to support new fence panels with some reinforcement. If the posts are beyond repair however, the way you remove them will depend on whether they have been set in concrete or not. While fence posts that have simply been driven into the ground can be loosened (by rocking them backwards and forwards) and removed easily, posts that have been set in concrete are a little harder to remove. These can be dug out, which will displace a lot of soil but will present you with the perfect conditions for resetting new posts in place, or they can be levered out. Levering the posts will take longer and take a lot more effort but will give equally good results.
Choosing a new timber fence from Witham Timber
Your old fence has been taken down safely and the area is now clear for you to install a replacement fence that will last for years. Our fencing blog posts have lots of information and advice, from our complete guide to buying a fence, to how to build a fence with concrete posts and gravel boards. Whether you prefer closeboard panels or decorative panels, or perhaps you like the aesthetic of DuraPost fencing, you will find exactly what you need in Witham Timber’s fencing supplies. And for all other enquiries our sales team is happy to help via email at sales@withamtimber.co.uk or over the phone on 01205 359188.